
The general steps involved in plastering of concrete surfaces are –
1. Preparation of Concrete Surface
Prior to the plastering work, the surface of the concrete to be plastered is to be cleaned from peeling paint, flaking bits of old plaster and should be free from paint, oil, and dust so that the plaster can bond properly.
2. Treating with Slurry
The texture of the concrete wall must be rough enough to hold the plaster. To achieve this, a slurry is applied on the concrete surface. Slurry or dash is prepared by mixing 1 part cement to 1 and 1/2 parts coarse sand with the quantity of water sufficient to obtain a runny consistency.
3. Mixing of Plaster
A suitable amount of fine aggregate (sand), cement and water are mixed to obtain a required consistency of plaster for the desired work. The prepared plaster must be used within two hours.
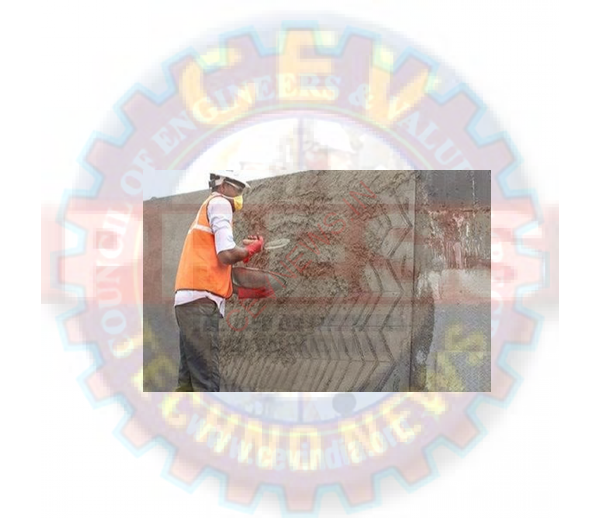
4. Apply the Plaster
A base coat of plaster is applied over the layer of dash with a steel trowel. The layer should be in the range of 10 to 15 mm thick. Apply it in small strokes, making sure it is level and uniform.
If the plastering is done in only 1 layer then the thickness of the plaster must be not more than 10 to 15 mm. Remember the thickness of the top coat should be 5 to 10mm.
5. Curing of Plaster
Once the plaster is hard and set, curing must be started and continued till 7 days. After the plastered concrete walls have dried, you can paint them or apply wallpaper.
Plaster Thickness
The thickness of the undercoat used in conjunction with Thistle Bond-it or other bonding agents should not exceed 11mm for walls and 8mm for soffits. The thickness of the finish coat applied over the undercoat should be 2mm.
In areas where greater thicknesses are likely, it will be necessary to apply the plaster over expanded metal lathing fixed mechanically to the concrete.